If you want to build a short multi-shot story, you can start with Movmix AI Image to Video. But generating one good clip is only half the job. The real challenge is AI video continuity: how do you make separate clips feel like they belong to the same moment, same subject, and same story?
You’ve probably seen this happen before. One AI-generated shot looks great. The second shot also looks great. The third one is fine too. Then you put them together, and suddenly everything falls apart. The subject looks slightly different. The background shifts. The motion feels disconnected. And instead of one story, you get three unrelated clips pretending to be a sequence.
That’s exactly what this tutorial is here to fix.
In this guide, we’ll use a simple 3-shot cat example instead of a complicated human action scene. Each shot is 6 seconds, so the final result is 18 seconds total. The goal is not to create the most dramatic video possible. The goal is to build a clean, easy-to-understand workflow for connecting AI-generated scenes naturally.
Why AI Video Continuity Usually Breaks
There are two different problems people often mix together.
The first problem is instability inside one shot. For example, the subject changes appearance during the clip.
The second problem is disconnection between different shots. For example, Shot 1 ends with the cat looking out the window, but Shot 2 suddenly starts with the cat facing forward in a slightly different place.
This article focuses on the second problem.
Here are the most common reasons why separate AI clips do not connect well:
| Problem | What It Looks Like | How to Fix It |
|---|---|---|
| Subject inconsistency | Fur pattern, face, or body shape changes | Reuse the same reference and last frame |
| Background inconsistency | Window, plant, or room layout changes | Keep one clear environment design |
| Action discontinuity | Motion jumps between clips | Use the end state of one shot as the start of the next |
| Camera inconsistency | One shot is stable, the next feels unrelated | Plan shot scale and camera movement in advance |
| Object inconsistency | Props disappear or move | Keep important objects visible and stable |
AI video continuity is not only about making the subject look the same. It is also about preserving position, direction, timing, and visual logic across shots.
A Simple 3-Shot Story for an 18-Second Sequence
Instead of using a complicated scene with walking, props, and multi-step interactions, we’ll use a much simpler story:
A cat sits by a rainy window, looks outside, turns toward the camera, and then blinks.
That’s it.
This gives us a clean 3-shot structure, and each shot lasts 6 seconds.
| Shot | Main Action | Duration |
|---|---|---|
| Shot 1 | The cat sits by the rainy window and looks outside | 6 seconds |
| Shot 2 | The cat slowly turns its head toward the camera | 6 seconds |
| Shot 3 | The camera moves closer and the cat gently blinks | 6 seconds |
Total length: 18 seconds
This example is intentionally simple. There is no walking, no prop interaction, and no scene change. That makes it much easier to focus on the real lesson: how to connect one shot to the next.
The Core Workflow: One Shot Ends, the Next Shot Begins
This article is built around one very practical idea:
The ending of one shot should become the starting point of the next shot.
So the workflow looks like this:
Shot 1 first frame → Shot 1 video → last frame of Shot 1 → Shot 2 video → last frame of Shot 2 → Shot 3 video
That is the real continuity workflow. Not “generate three random clips and hope they match.”
Step 1: Create Shot 1
Start by preparing the first image. This image defines the cat, the windowsill, the rainy window, and the surrounding environment.
Shot 1 First-Frame Image Prompt
| First-Frame Image Prompt | Output |
|---|---|
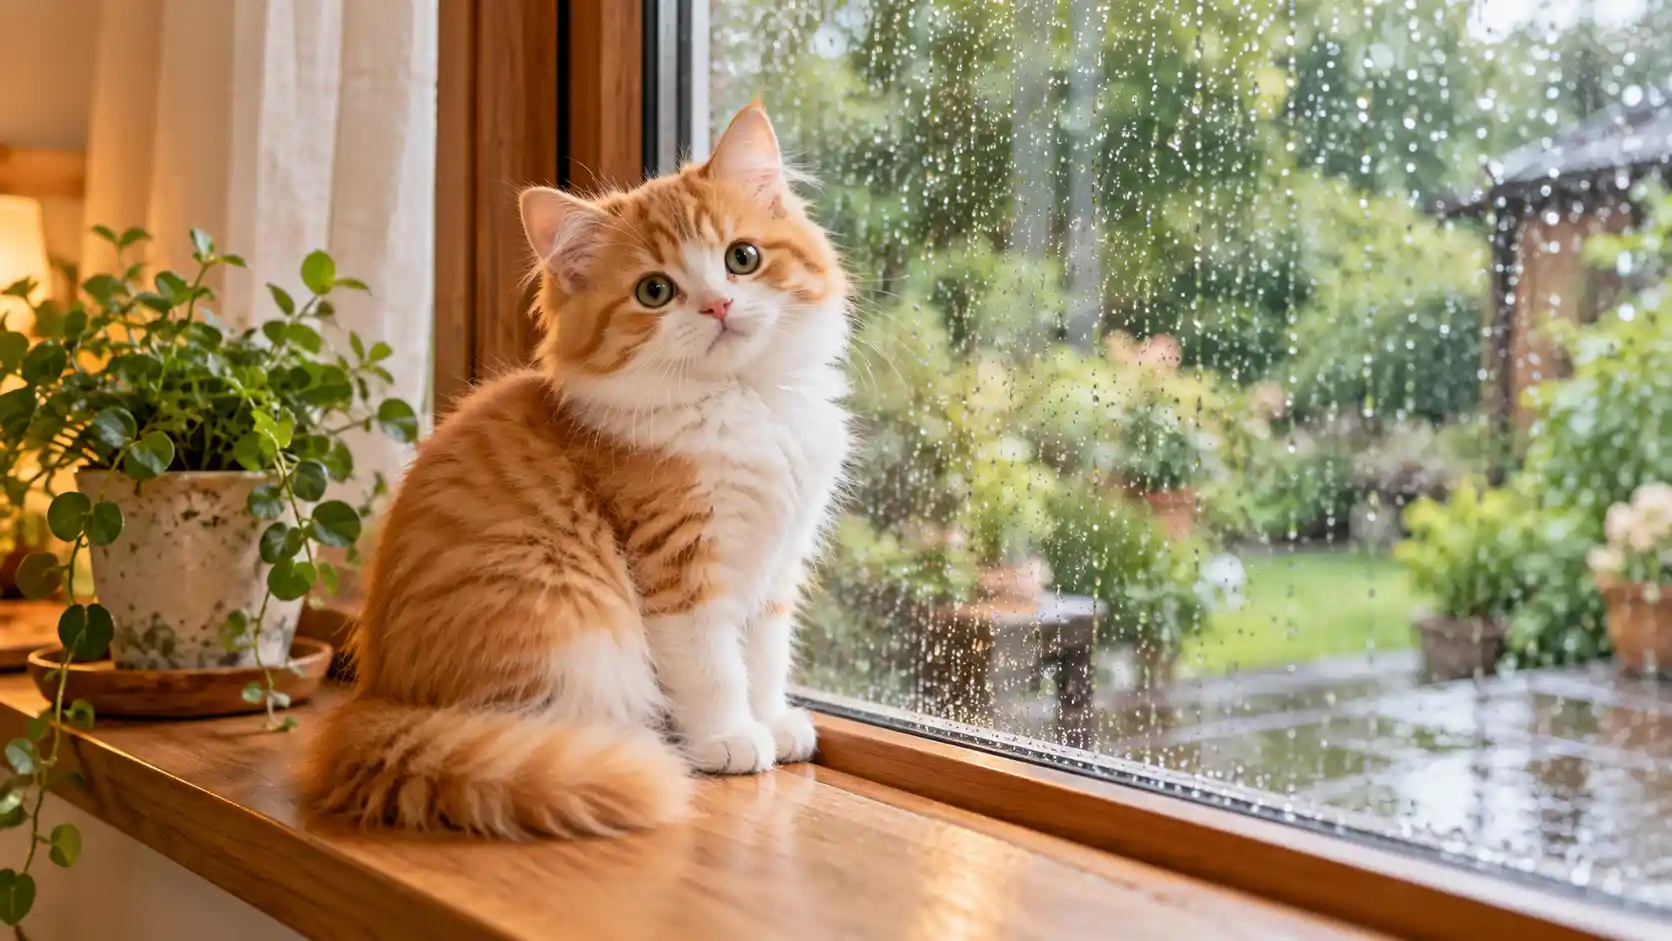
| 16:9 horizontal composition, a fluffy orange-and-white cat sitting calmly on a wooden windowsill, shown in side view facing the window. The cat is looking at raindrops on the glass. Outside the window is a softly blurred green garden with light rain. A small green potted plant sits beside the cat on the windowsill. Soft indoor natural light, realistic pet photography, fixed medium shot, clean and natural composition, no text, no logo, no watermark. | 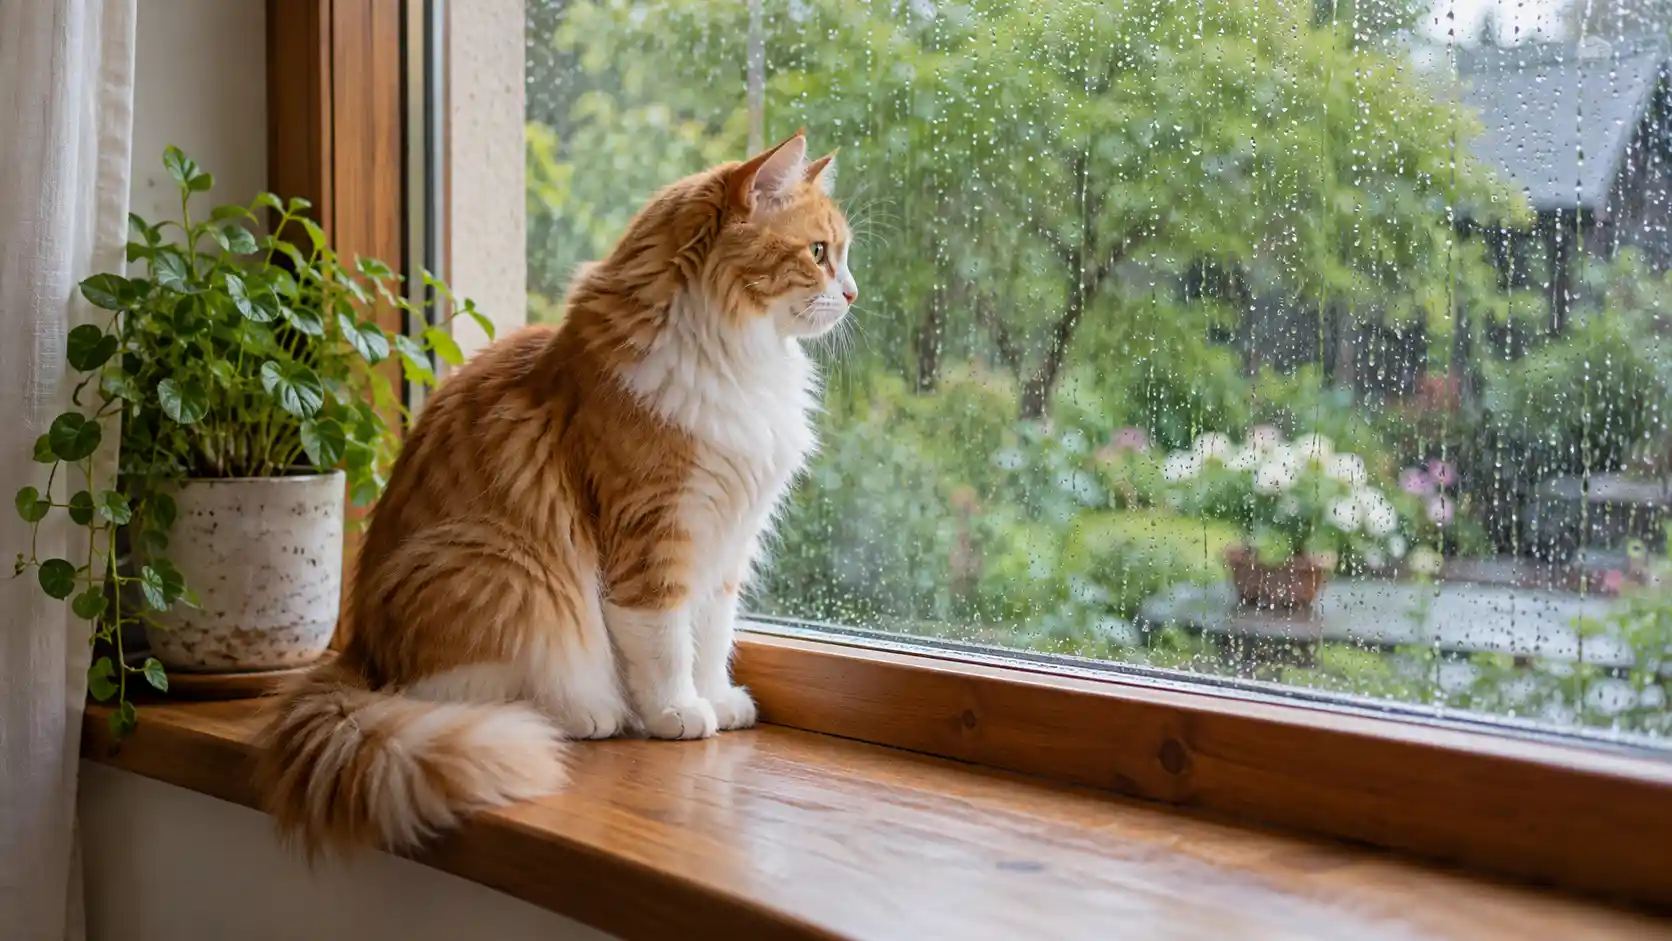 |
Before generating the video, check three things carefully: the cat’s fur pattern, the plant placement, and the window composition. If these look unstable or unclear in the first frame, the later shots will be harder to connect.
Shot 1 Video Prompt
The orange-and-white cat sits calmly on the wooden windowsill and looks out through the rainy window. The cat remains in the same seated position, with only subtle natural ear movement and slight breathing motion. Raindrops slowly slide down the glass. Keep the camera fixed. Preserve the cat’s fur pattern, body shape, windowsill, potted plant, rainy glass, and blurred green garden outside.
The purpose of Shot 1 is simple: establish the subject and environment. Do not make the cat do too much. You want a clean starting point.
Step 2: Use the Last Frame of Shot 1 to Build Shot 2
Once Shot 1 looks good, extract its last frame.
This is where the continuity workflow starts doing the real work. Instead of inventing a fresh new image for Shot 2, you reuse the ending of Shot 1 as the visual starting point for Shot 2.
If the extracted frame needs a small adjustment for framing or clarity, you can refine it with Movmix AI Image to Image. The goal is not to redesign the scene. The goal is to preserve it while making it suitable for the next shot.
Shot 2 Video Prompt
Continue from the previous shot. The orange-and-white cat remains seated on the same wooden windowsill beside the same small green potted plant. Starting from its side-facing position, the cat slowly turns its head from the rainy window toward the camera until it is naturally looking at the viewer. Keep the body position unchanged and the camera fixed. Preserve the cat’s fur pattern, facial features, windowsill, plant, rainy glass, and blurred green garden background. Raindrops continue to slide down the window.
This shot teaches an important continuity principle: do not change more than necessary. The body stays in place. The background stays the same. The only meaningful change is the head turning toward the camera.
That is why the transition feels natural.
Step 3: Use the Last Frame of Shot 2 to Build Shot 3
Now repeat the same process.
Extract the last frame of Shot 2. At this point, the cat is already facing the camera. That becomes the starting state for Shot 3.
This time, instead of changing the subject position again, we add two subtle changes:
- a slow push-in camera movement
- a gentle blink
Shot 3 Video Prompt
Continue from the previous shot. The orange-and-white cat remains seated on the same windowsill and keeps looking toward the camera. The camera slowly pushes in to create a closer facial shot. Near the end of the clip, the cat gives one gentle natural blink. Preserve the cat’s facial features, fur pattern, seated posture, potted plant, rainy window, and blurred green garden background. Keep the motion soft, stable, and continuous.
Now the sequence has a clear flow:
- Shot 1: the cat looks outside
- Shot 2: the cat turns toward the camera
- Shot 3: the camera moves closer and the cat blinks
Each shot grows naturally out of the previous one.
How to Stitch the 3 Shots Together
Once you have all three clips, the editing stage becomes much easier.
The good news is that continuity is already built into the generation workflow. You are not trying to “fix everything in editing.” You are simply preserving the sequence you already planned.
Here are three editing rules to follow:
1. Compare the End of One Shot With the Start of the Next
Put the end of Shot 1 next to the beginning of Shot 2. Then do the same with Shot 2 and Shot 3.
You are not checking pixel-perfect identity. You are checking whether the subject position, head direction, environment, and camera logic still make sense.
2. Do Not Overuse Fancy Transitions
If two shots already connect naturally, a simple cut is often the best solution.
You do not need to hide weak continuity with dramatic flashes, spins, zoom bursts, or distracting transition effects. Those may look energetic, but they usually do not solve the actual problem.
3. Keep the Atmosphere Consistent
Since this story happens beside a rainy window, the overall feeling should stay consistent across all three clips. In editing, use similar ambient sound and keep the mood stable. That way, the 18-second final video feels like one small moment, not three separate experiments.
What This Example Actually Teaches
This tutorial is not really about cats.
It is about a repeatable method for AI video continuity.
The key lesson is simple:
Do not generate every shot from scratch. Generate the first shot carefully, then let its ending guide the next shot.
That one change in workflow solves a surprising number of continuity problems.
Instead of asking AI to “make another similar clip,” you are giving it a much more useful instruction structure:
- same subject
- same environment
- same visual identity
- slightly updated action state
That is why the result feels more coherent.
What to Do If Your Existing AI Clips Already Don’t Match
Sometimes the problem appears after the videos are already generated.
That does not always mean you need to start over completely.
If the subject looks different
Go back to the next shot’s starting frame and rebuild it using the previous shot’s final frame as a reference.
If the background changes
Re-establish one consistent base image for the location and regenerate the clip while preserving that layout.
If the motion jumps too much
Simplify the action in the next shot. Make it begin closer to the ending state of the previous shot.
If the camera logic feels random
Reduce unnecessary movement. Often, a more stable shot connects better than an overly active one.
A Reusable AI Video Continuity Workflow
You can reuse this same method for longer sequences too.
Step 1: Define the story and number of shots.
Step 2: Lock the subject and environment in Shot 1.
Step 3: Generate Shot 1.
Step 4: Extract the last frame of Shot 1.
Step 5: Use that frame as the start of Shot 2.
Step 6: Repeat the process for later shots.
Step 7: Stitch the clips together and review the whole sequence.
A shot’s ending is the next shot’s beginning.
That one sentence is the heart of the workflow.
FAQ: AI Video Continuity
Why is it hard to connect separate AI-generated clips?
Because independently generated clips do not automatically inherit the previous shot’s subject state, composition, or action logic. You need to create that connection manually through references and planning.
Can I use the last frame of one clip to generate the next clip?
Yes. In fact, that is one of the most practical ways to improve AI video continuity. It helps preserve appearance, position, and scene logic.
Do all shots need the same prompt?
No. The subject identity and environment details should stay consistent, but the action and camera behavior can change from shot to shot.
Do I need complicated transitions?
No. If the clips are planned well, a simple cut is often enough.
Can this workflow work for longer stories?
Yes. The same principle applies to 3 shots, 5 shots, or more. The longer the story, the more important it becomes to control the end state of each shot.
Final Thoughts
A beautiful single clip is one thing. A believable sequence is something else.
That is why AI video continuity matters.
When you generate one video at a time without thinking about what comes next, you are asking for chaos. But when you plan a simple shot sequence and let each ending feed the next beginning, your results become much easier to control.
If you want to build multi-shot videos more effectively, start with Movmix AI Image to Video. And if you need to refine a transition frame before generating the next clip, Movmix AI Image to Image can help preserve the visual logic between shots.
Don’t just generate good-looking clips. Generate clips that belong to the same story.
'%3e%3crect%20y='2.1906'%20width='26'%20height='17.4314'%20rx='1.55981'%20fill='white'/%3e%3c/g%3e%3crect%20x='0.311961'%20y='2.50256'%20width='25.3761'%20height='16.8075'%20rx='1.24784'%20stroke='%2322257C'%20stroke-width='0.623922'/%3e%3c/g%3e%3crect%20x='13.078'%20y='15.5656'%20width='10.8016'%20height='2.49569'%20rx='0.623922'%20fill='%2366B3FF'%20stroke='%2322257C'%20stroke-width='0.623922'/%3e%3crect%20x='-0.311961'%20y='0.311961'%20width='10.8016'%20height='2.49569'%20rx='0.623922'%20transform='matrix(-1%200%200%201%2012.61%2015.2536)'%20fill='%2366B3FF'%20stroke='%2322257C'%20stroke-width='0.623922'/%3e%3crect%20x='10.3093'%20y='13.3231'%20width='4.91339'%20height='6.98013'%20rx='2.45669'%20fill='%2322257C'/%3e%3cpath%20d='M18.9174%200.31543C20.5962%200.268025%2022.1261%200.655527%2023.9487%201.55762C24.0483%201.60695%2024.1137%201.71153%2024.1137%201.8291V16.502C24.1137%2016.7236%2023.8763%2016.891%2023.6499%2016.7979C21.803%2016.0377%2020.2158%2015.6963%2018.4975%2015.7705C16.8915%2015.8399%2015.1907%2016.2732%2013.0776%2017.0332V1.6709C15.4678%200.825877%2017.2746%200.36187%2018.9174%200.31543Z'%20fill='white'%20stroke='%2322257C'%20stroke-width='0.623922'/%3e%3cpath%20d='M15.3008%204.57C16.3536%203.94578%2019.2783%203.20503%2021.8909%203.94608'%20stroke='%2366B3FF'%20stroke-width='0.935883'%20stroke-linecap='round'/%3e%3cpath%20d='M15.3008%207.26054C16.3536%206.63631%2019.2783%205.89557%2021.8909%206.63661'%20stroke='%2366B3FF'%20stroke-width='0.935883'%20stroke-linecap='round'/%3e%3cpath%20d='M15.3008%209.95107C16.3536%209.32684%2019.2783%208.5861%2021.8909%209.32714'%20stroke='%2366B3FF'%20stroke-width='0.935883'%20stroke-linecap='round'/%3e%3cpath%20d='M15.3008%2012.6398C16.3536%2012.0156%2019.2783%2011.2749%2021.8909%2012.0159'%20stroke='%2366B3FF'%20stroke-width='0.935883'%20stroke-linecap='round'/%3e%3cpath%20d='M7.08257%200.31543C5.40384%200.268025%203.87393%200.655527%202.05132%201.55762C1.95165%201.60695%201.88628%201.71153%201.88628%201.8291V16.502C1.88628%2016.7236%202.12373%2016.891%202.35014%2016.7979C4.19702%2016.0377%205.78418%2015.6963%207.50249%2015.7705C9.10852%2015.8399%2010.8093%2016.2732%2012.9224%2017.0332V1.6709C10.5322%200.825877%208.72541%200.36187%207.08257%200.31543Z'%20fill='white'%20stroke='%2322257C'%20stroke-width='0.623922'/%3e%3cpath%20d='M10.6992%204.57C9.64638%203.94578%206.72175%203.20503%204.10907%203.94608'%20stroke='%2366B3FF'%20stroke-width='0.935883'%20stroke-linecap='round'/%3e%3cpath%20d='M10.6992%207.26054C9.64638%206.63631%206.72175%205.89557%204.10907%206.63661'%20stroke='%2366B3FF'%20stroke-width='0.935883'%20stroke-linecap='round'/%3e%3cpath%20d='M10.6992%209.95107C9.64638%209.32684%206.72175%208.5861%204.10907%209.32714'%20stroke='%2366B3FF'%20stroke-width='0.935883'%20stroke-linecap='round'/%3e%3cpath%20d='M10.6992%2012.6398C9.64638%2012.0156%206.72175%2011.2749%204.10907%2012.0159'%20stroke='%2366B3FF'%20stroke-width='0.935883'%20stroke-linecap='round'/%3e%3c/g%3e%3cdefs%3e%3cfilter%20x='0'%20y='2.1906'%20width='26'%20height='17.4314'%20filterUnits='userSpaceOnUse'%20color-interpolation-filters='sRGB'%3e%3cfeFlood%20flood-opacity='0'%20result='BackgroundImageFix'/%3e%3cfeBlend%20mode='normal'%20in='SourceGraphic'%20in2='BackgroundImageFix'%20result='shape'/%3e%3cfeColorMatrix%20in='SourceAlpha'%20type='matrix'%20values='0%200%200%200%200%200%200%200%200%200%200%200%200%200%200%200%200%200%20127%200'%20result='hardAlpha'/%3e%3cfeOffset%20dy='-1.24784'/%3e%3cfeComposite%20in2='hardAlpha'%20operator='arithmetic'%20k2='-1'%20k3='1'/%3e%3cfeColorMatrix%20type='matrix'%20values='0%200%200%200%200.572549%200%200%200%200%200.768627%200%200%200%200%200.976471%200%200%200%201%200'/%3e%3cfeBlend%20mode='normal'%20in2='shape'%20result='effect1_innerShadow_0_4'/%3e%3c/filter%3e%3c/defs%3e%3c/svg%3e)